
Views: 0 Author: Site Editor Publish Time: 2026-08-12 Origin: Site


Sourcing custom pins for corporate campaigns, merchandise collections, or promotional events carries inherent quality risks. You want a flawless physical product. However, translating a digital design into a metal object involves complex technical steps. Misalignment between digital proofs and physical production often leads to wasted budgets. It also causes missed deadlines. Subpar brand representation frequently frustrates buyers who skip crucial verification checks.
A systematic approach to vetting the production process effectively solves these expensive issues. You must carefully evaluate digital proofs before approving mold creation. You will learn how to match your design to the right manufacturing technique for optimal results. We will also explore how to establish strict quality control parameters. Finally, you will discover how to evaluate a supplier's operational reliability before placing your final order.
You must mitigate the risk of untranslatable designs before physical tooling begins. Factories use CNC machines to cut metal molds based on your artwork. A poor digital proof guarantees a flawed physical product. You should review three critical dimensions before giving production approval.
Real-world manufacturing requires minimum line thicknesses. Factories typically need lines between 0.2mm and 0.3mm wide. These metal ridges act as dams. They hold the liquid enamel in place during the baking process. If lines are too thin, colors will bleed together. Verify the manufacturer hasn't over-simplified a custom logo pin to accommodate these limits. Over-simplification can destroy your brand identity. Compare the factory proof directly alongside your original vector file. Ensure critical typography and logo marks remain recognizable.
Digital screens display colors in RGB. Commercial printers use CMYK. Enamel paints rely entirely on the Pantone Solid Coated system. These other formats do not translate accurately to physical enamel. Ensure the factory uses exact PMS color codes on their proof. Do not rely on how the colors look on your monitor. Buy a physical Pantone booklet to verify the exact ink mixture. This guarantees brand consistency across multiple production batches.
Assess your design for unique structural requirements. Some shapes require specialized die-cutting for inner holes. This piercing process adds production time and expense. Sharp external edges can snag on clothing or scratch users. Ask the factory if they have flagged any potential fragility issues. They should suggest rounding sharp corners slightly. Structural integrity matters just as much as visual appeal.
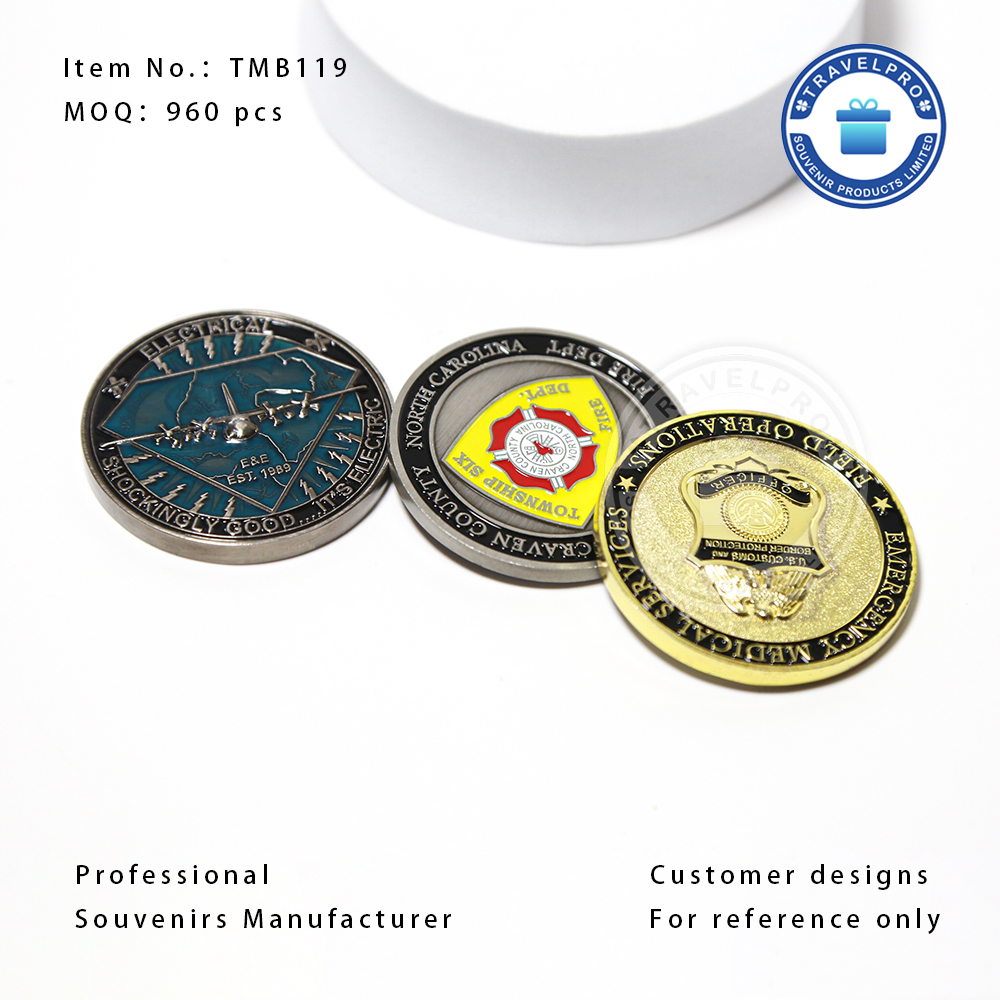
You must align the manufacturing technique with your desired outcome. Different methods impact your budget and brand positioning directly. You cannot simply apply one style to every design. Evaluate the three primary solution categories below to make an informed choice.
Hard enamel offers a premium finish. It works best for high-end corporate gifts and high-wear items. The factory overfills the metal cavities with enamel. They bake it at high temperatures. Finally, they polish the entire surface completely flat. You must evaluate the manufacturer's polishing process carefully. Aggressive buffing can thin out the metal lines. This ruins the crisp separation between colors. Done correctly, it provides a jewelry-like appearance.
Soft enamel is ideal for high-contrast designs. It remains a cost-effective choice for any bulk enamel pin order. The enamel sits slightly below the metal ridges. This creates a distinct, textured feel. The raised metal outlines catch the light nicely. Check if the vendor offers optional epoxy dome coatings. Epoxy adds a clear, smooth protective layer. It prevents scratching and increases durability on budget-friendly orders.
Die-struck pins offer elegant, metal-only finishes. They do not use any liquid enamel. The factory stamps the design directly into brass or iron base metals. This technique requires careful verification of plating options. You can choose antique, matte, or sandblasted backgrounds. Contrasting textures ensure the raised artwork remains readable. 3D molding works perfectly for sculptural designs like animal faces or architectural replicas.
Production Method Comparison Chart
| Production Style | Surface Texture | Durability Level | Best Use Case |
|---|---|---|---|
| Hard Enamel | Smooth and flat | Very High | Premium corporate gifts, retail merchandise |
| Soft Enamel | Textured (raised metal) | Medium (High with epoxy) | Promotional giveaways, high-contrast art |
| Die-Struck | Metallic relief (3D) | Extreme | Award recognitions, classic emblems |
You must define the acceptable margin of error early. Mass production inevitably produces minor flaws. You must outline what constitutes a defective unit before production starts. Clear standards prevent disputes upon delivery. Focus your quality control efforts on three specific risk areas.
Liquid enamel requires precise application. Manual filling processes introduce human error. Look out for under-filling during your inspection. This leaves noticeable, ugly divots in the design. Over-filling causes the paint to spill over the metal lines. Dust easily traps in wet enamel or epoxy domes. Demand clean-room drying environments from your vendor. Reject units showing visible trapped debris under standard lighting.
Electroplating gives the metal its final color. Poor chemical dipping causes severe issues. Assess the risk of rapid oxidation. Watch for uneven plating thickness across the batch. Discoloration in gold, nickel, or black dye plating ruins the aesthetic. Set up a clear lapel pin QC checklist. Specify the exact lighting conditions for color inspection. Consistent electroplating ensures every unit looks identical.
The attachment mechanism is the most common failure point. Users will lose their pins if the backing fails. Ensure the spur nail on the back is securely soldered. Glued pins break off far too easily. Evaluate the grip strength of different clutches. Rubber clutches offer great friction but degrade over time. Butterfly clasps provide traditional, mechanical security. Locking pin backs offer the best protection for high-value items.
Standard QC Inspection Sequence:
Move beyond simple per-unit pricing metrics. You must evaluate the supplier's overall operational capability. Trustworthiness matters just as much as manufacturing skill. A bad vendor will cost you more through delays and defects. Use the following shortlisting logic to find a capable partner.
Always review a factory's sampling rules. Do they offer a physical pre-production sample (PPS)? This is crucial for large orders. High-resolution photos of the first production run serve as a faster alternative. Never approve a massive batch based solely on a digital proof. A reputable metal badge manufacturer will encourage sampling. They want to ensure your complete satisfaction before scaling up.
Molds require skilled CNC machining. Clarify how the factory handles these setup fees. Ask if the mold fee is a strictly one-time cost. Determine how long the factory retains the physical mold. Many suppliers guarantee mold storage for two to three years. You should not pay a new setup fee for exact reorders within that timeframe. Get this agreement in writing.
Communication speed indicates operational health. A reliable partner acts as a technical advisor. They will push back on impossible designs. They refuse to accept an order they cannot execute perfectly. Beware of vendors who blindly say yes to microscopic gradients or impossibly thin lines. Strong technical support prevents costly manufacturing mistakes before they happen.
You must identify hidden costs early in the quoting process. Budget overruns ruin promotional campaigns quickly. Ensure the final delivery schedule aligns perfectly with your marketing deadlines. Evaluate the following criteria when finalizing your purchase order.
Understand how scale impacts your pricing. Fixed setup fees hit small orders hard. Molds, die charges, and film setups remain constant regardless of quantity. Find the tipping point where these fees get absorbed seamlessly. A larger custom lapel pin production run drastically lowers your per-unit cost. Sometimes ordering 500 units costs only slightly more than ordering 250 units.
Standard pricing structures usually cover up to four or five colors. Complex designs require additional manual labor. Factor in surcharges for every extra color cavity. Specialty finishes also increase the invoice total. Materials like glitter, glow-in-the-dark paints, and translucent enamels require specialized handling. Simplify your color palette to maximize your budget efficiency.
Never confuse production time with total delivery time. Differentiate between manufacturing days and transit days clearly.
Successful custom pin manufacturing hinges on proactive design validation. You must align your chosen materials closely with your business goals. Setting rigid quality expectations early prevents costly disputes later. Never underestimate the importance of reviewing a physical sample for high-stakes projects.
Before placing any bulk order, request a highly detailed quote. This quote must separate unit costs, mold fees, and shipping charges clearly. Demand to see a physical portfolio of recent work. Ensure their previous projects match your specific design style and complexity requirements exactly.
A: For orders over 500 units or high-stakes corporate rebrands, a physical sample is highly recommended to verify weight, color accuracy, and clasp durability, despite adding 1-2 weeks to the timeline.
A: Generally 2-4 weeks for production, plus shipping. Complex molds (3D) or specialty finishes may extend this. Always build a buffer for QC revisions.
A: Enamel pins require physical metal ridges to separate liquid colors. Fine gradients, drop shadows, and microscopic text must be converted to solid, distinct shapes to be manufacturable.

