
Views: 0 Author: Site Editor Publish Time: 2026-09-10 Origin: Site


High-resolution digital screens make complex designs look absolutely flawless. However, transitioning these vivid pixels into physical stamped metal brings a harsh reality check. Liquid paint and forged metal do not behave like digital vectors. When designers ignore physical material constraints, expensive disasters strike on the factory floor.
Undersized paint pools and thin metal barriers inevitably cause colors to bleed together during high-heat baking. This oversight creates structural weakness. It triggers massive batch rejections. It also wastes your entire production budget. We must close this critical gap between digital concepts and manufacturing realities.
You will discover the exact mathematical tolerances required to execute flawless physical production. This guide details the specific spacing rules to help you avoid common manufacturing pitfalls. By mastering these necessary design adjustments, you ensure your final product protects your brand integrity perfectly.
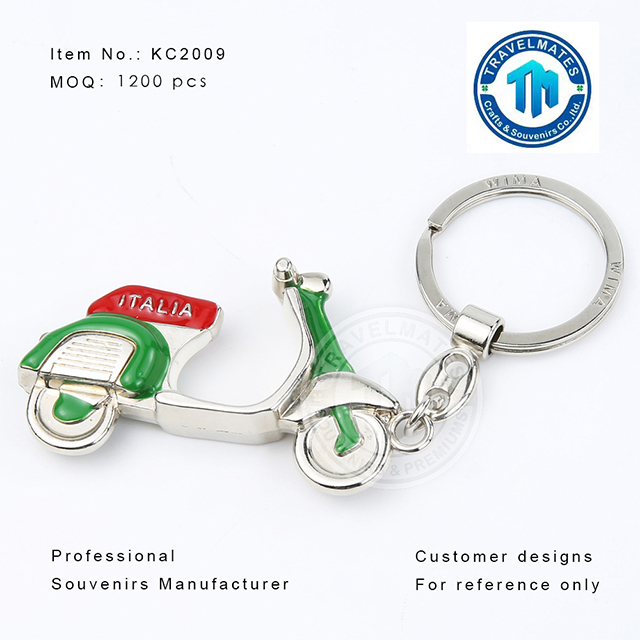
Translating a flat digital image into a three-dimensional object requires specialized tooling. Manufacturers press a heavy steel die into zinc alloy or iron. This immense pressure creates a raised metallic skeleton. These raised ridges act as physical barriers. The recessed areas between them form empty cavities.
You must understand the structural relationship between raised metal ridges and recessed liquid areas. Think of the metal lines as dams. Think of the recessed areas as tiny swimming pools. The dams must be thick enough to hold back fluid. The pools must be wide enough to accept a needle injecting the paint.
Liquid enamel behaves unpredictably in microscopic spaces. The paint has a specific viscosity. Because of surface tension, fluid resists flowing into very narrow crevices. If a recessed cavity is too narrow, the liquid cannot settle properly into the bottom. It simply bridges across the top. This leaves bare metal underneath or traps unsightly air bubbles inside the color pool.
Insufficient barrier widths lead to a catastrophic failure known as muddying. During the high-heat baking process, thin metal walls often warp. Sometimes, they melt slightly or collapse altogether. When these delicate dams fail, neighboring colors spill over and mix together. This irreversible bleeding completely ruins intricate metal keychain artwork. You end up holding a blurred, unrecognizable product instead of a crisp brand asset.
Successful manufacturing requires strict adherence to mathematical boundaries. You cannot rely on visual guesswork. Factories use highly calibrated computer numerical control (CNC) machines. These machines carve the master mold out of hardened steel. They operate under absolute physical limits.
The industry enforces a strict 0.2mm rule for metal lines. You must maintain this absolute minimum thickness. If you design lines thinner than 0.2mm, the CNC-routing bits will likely snap during mold creation. Even if the mold survives, the resulting metal ridges will remain too fragile. They often break off during the aggressive physical stamping process.
You must also enforce the 0.3mm rule for recessed cavities. Technicians and automated machines use tiny syringe needles to inject paint. A standard industrial needle requires at least 0.3mm of clearance. The needle physically cannot enter spaces smaller than this. If you ignore this rule, factories cannot apply the enamel line width accurately.
Your chosen production style directly impacts your final tolerances. Hard enamel requires aggressive surface polishing. Workers buff the metal until it sits completely flush against the baked paint. This intense buffing physically flattens the raised metal. The flattening action slightly widens the lines. Consequently, it shrinks the available color area.
Soft enamel avoids this destructive buffing stage completely. The paint rests slightly below the metal ridges. Because it skips the abrasive polishing, soft enamel retains its original, narrow metal profile. This makes soft enamel structurally superior for preserving ultra-fine typography.
Baseline Tolerance Comparison
| Manufacturing Style | Minimum Metal Line | Minimum Color Pool | Post-Bake Distortion |
|---|---|---|---|
| Soft Enamel | 0.2mm | 0.3mm | Minimal to None |
| Hard Enamel | 0.25mm (Recommended) | 0.35mm (Recommended) | Lines widen slightly |
| Printed Epoxy | Not Applicable | Not Applicable | Zero distortion |
You will frequently encounter logos containing excessive detail. Many brand assets feature subtle shading, overlapping shapes, or microscopic text. You must aggressively adapt these elements for physical casting. Simplification is not a compromise. It is a mandatory requirement for quality.
You need a framework for merging adjacent similar colors. Look for gradients or multiple shades of a single hue. Combine these into one solid Pantone color. Eliminate unnecessary, space-consuming metal lines between similar shades. Every metal line you remove creates more breathing room for a clean custom color fill.
Text presents the biggest challenge in small-scale manufacturing. You must implement strict rules for font selection. Mandate the use of sans-serif fonts. Serif fonts contain tiny decorative tails. These tails always fall below the 0.2mm threshold and disappear during stamping.
Enforce a minimum point size. Typically, text must be at least 5pt to remain legible in metal. Finally, designers must convert all live text into expanded outlines. Factories cannot process standard font files.
Sometimes, brand guidelines strictly prohibit simplification. When micro-details fall below the 0.2mm barrier, you must abandon standard stamping. Instead, pivot to hybrid solutions. Utilize pad printing. This technique stamps a precise 2D ink layer directly over the baked enamel surface.
Alternatively, use offset printed epoxy-domed inserts. The factory prints a high-resolution CMYK image onto an adhesive substrate. They place this insert into a recessed metal cavity. They cover it using clear epoxy resin. This guarantees exact visual fidelity for complex graphics.
Not all manufacturing facilities offer the same precision. You must carefully audit a factory before releasing your funds. Their internal standards dictate the quality of your final product. Knowing what to demand during the quoting phase prevents costly surprises later.
Never accept a simple JPEG rendering as a production proof. You must demand a technical factory CAD or a precise vector mockup. A proper proof acts as a binding technical contract. Review it thoroughly.
Many buyers hunt for the lowest possible mold setup fee. This strategy usually backfires for a fine detail keychain. Higher initial mold fees often correlate directly with higher-precision CNC routing. Premium factories use slower, finer drill bits to carve the steel die. This meticulous process yields significantly cleaner fine-line execution. Cheap molds rely on fast, aggressive cutting. This leaves jagged edges and ruined micro-details.
Establish clear rejection criteria before you pay the balance. Even top-tier factories experience minor variations. Define your acceptable defect rates for misaligned color fills. In mass production, a 2% to 3% defect rate is standard. Anything higher requires a factory remake. Put these tolerance standards in writing.
The transition from a design file to a physical product requires meticulous preparation. Your design team must format files precisely according to factory specifications. Missing a single step will delay your project or cause a manufacturing error.
Do not send raw Illustrator files directly to a manufacturer. Follow these actionable steps to prepare your enamel keychain artwork properly.
Never commit blindly to a massive production run. You must structure a pilot run first. Order a 50-piece physical sample batch. This validates the financial and strategic logic of your design. The factory will cut the master mold and produce a small test batch.
You can then inspect the physical samples. Check the metal line integrity. Verify the color accuracy. Ensure the typography remains legible. If adjustments are necessary, you only waste a small sample fee instead of ruining 5,000 units.
Once you complete the pre-flight checklist, submit the finalized vector file to your shortlisted manufacturing partners. Request a technical feasibility review. Ask them specifically if any lines fall below the 0.2mm threshold. Obtain precise quoting based on this validated artwork.
Successful physical manufacturing relies entirely on respecting physical limits. You must balance your artistic vision against the realities of metal stamping and liquid dynamics. Ignoring the 0.2mm metal barrier rule or the 0.3mm paint pool rule guarantees failure. By adapting complex logos, simplifying typography, and demanding detailed factory proofs, you protect your investment.
Take action today to ensure your next production run goes smoothly. Submit your current artwork to your manufacturing partner for a free manufacturability and line-width audit. You can also ask them to provide a blank vector template to guide your design process perfectly.
A: No. Standard enamel requires flat, separated colors. Liquid paint cannot blend smoothly inside tiny metal cavities. If your design absolutely requires gradients, you must use CMYK offset printing. The factory will print the design and cover it with a clear epoxy coating.
A: Soft enamel generally preserves fine details and thin metal lines better. It skips the abrasive polishing stage completely. The intense buffing required for hard enamel flattens the raised metal. This slightly widens the lines and crowds out tiny color pools.
A: The absolute minimum stroke thickness for the metal forming the text is 0.2mm. Any thinner, and the metal will break during manufacturing. For text filled with enamel paint, the internal empty space of the letters must measure at least 0.3mm wide.

