
Views: 0 Author: Site Editor Publish Time: 2026-09-03 Origin: Site


Moving from a brilliant prototype to mass manufacturing is an exciting milestone. Upfront tooling expenses often become an unexpected hurdle. Many buyers view this merely as a sunk cost. It is actually an amortized investment. Making the right choices early dictates your long-term unit economics. It also ensures product reliability. Choosing cheap materials can lead to premature wear. Conversely, over-engineering wastes valuable capital.
This guide breaks down the technical drivers of these expenses. We explore everything from manufacturing processes to volume requirements. You will learn how to budget accurately. We also show how to evaluate manufacturer quotes objectively. You can use this knowledge to negotiate better terms. Ultimately, careful planning protects your production timeline.
The method used to create the metal housing directly determines the mold type required. It also dictates how you encapsulate the magnet. This choice drives the primary cost variance. Different processes require vastly different machinery. They also require different grades of tooling steel. We must look at each process individually.
Die casting involves forcing molten metal into a cavity under extreme pressure. Zinc and aluminum are the most common materials. Molds must possess exceptional durability. They face intense thermal shock during every cycle. Because of this, factories use high-grade hardened steel. This material withstands thousands of extreme temperature cycles. Crafting these durable tools requires significant labor.
Cavitation plays a massive role in pricing. A single-cavity mold produces one part per cycle. It costs less upfront. A multi-cavity mold produces several parts simultaneously. It requires a larger block of steel. It also demands more complex internal cooling channels. Naturally, the die cast magnet cost scales significantly based on this cavitation choice. High-volume runs justify multi-cavity investments. Short runs usually rely on single-cavity setups.
Stamping is ideal for flat or simple bent metal housings. Progressive die tooling is the industry standard here. A strip of sheet metal feeds through a specialized press. The press contains multiple stations. Each station performs a specific cut or bend. Designing this sequence requires precise engineering.
The initial setup carries a high price tag. Machinists must perfectly align multiple cutting punches. However, this process yields exceptionally low per-unit costs. The machine operates incredibly fast. It stamps out hundreds of parts per minute. This makes stamping perfect for massive production runs. It is less viable for small, specialized batches.
Injection overmolding encapsulates a bare magnet in plastic or rubber. It protects the core material from corrosion. Insert molding introduces unique complexities. Operators or robots must place the magnet into the mold cavity first. Then, the machine injects molten plastic.
You must address significant physical challenges here. Injection pressures are immense. The specialized tooling requires robust holding pins. These pins keep the magnet securely in place. If the pins fail, the magnet shifts. Furthermore, raw magnets are notoriously brittle. Excessive clamping force will crack the magnetic material instantly. Engineering an overmold tool requires meticulous pressure calculations. This specialized design effort increases the upfront fee.
Geometry and aesthetics dictate the manufacturing timeline. Mechanical tolerances also play a crucial role. These factors determine how many hours of machining you need. CNC (Computer Numerical Control) routing takes time. EDM (Electrical Discharge Machining) takes even longer. Together, these hours determine the final price of a custom metal magnet mold. Complex shapes simply demand more resources.
Functional holding magnets feature simple geometric shapes. They are usually flat cylinders or blocks. Machining a cavity for a cylinder is fast. A standard CNC mill completes it quickly.
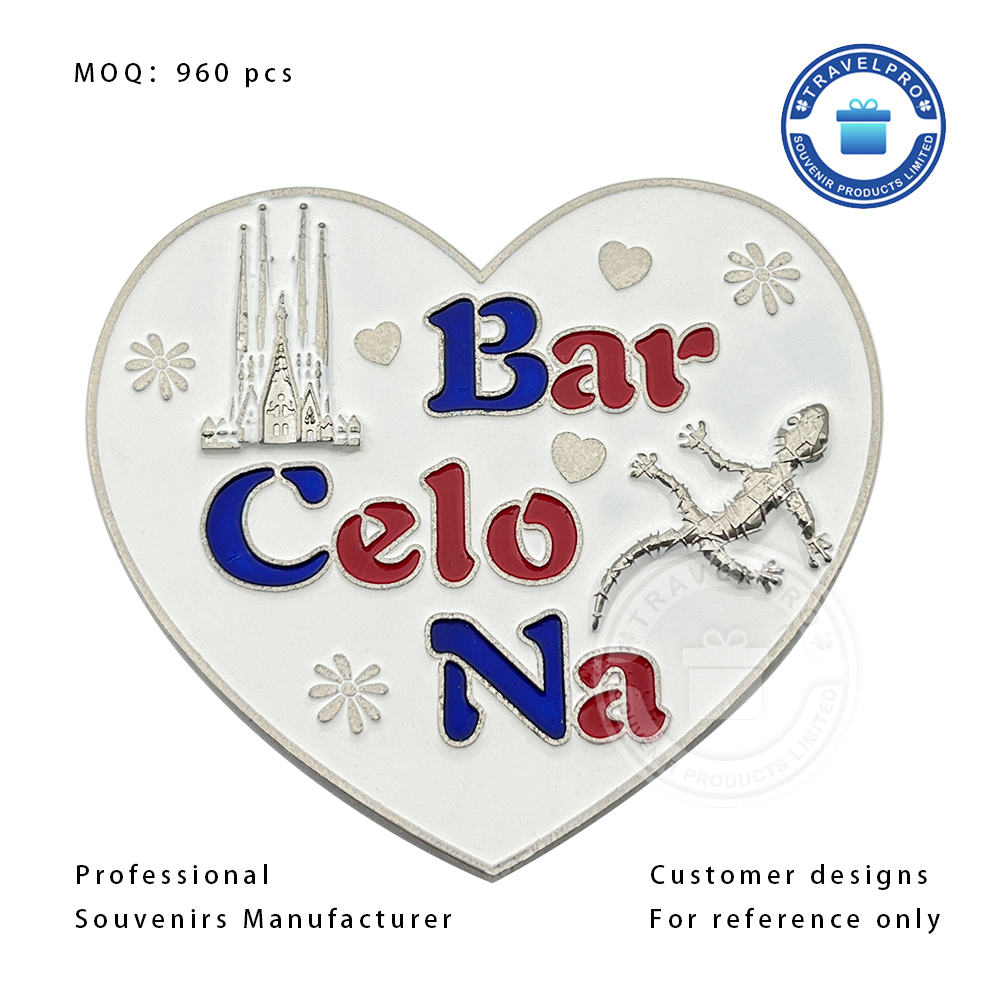
Aesthetics change the equation completely. Consider highly detailed souvenir magnet tooling. These products feature intricate 3D engraving. They often include raised lettering and fine textures. Standard CNC bits cannot cut microscopic details. Toolmakers must use sinker EDM processes. They first carve an electrode from copper or graphite. Then, they use electricity to burn the pattern into the steel. This multi-step process drastically drives up labor and machining costs.
Industrial integration demands precise dimensional tolerances. Press-fit sensor magnets are a perfect example. They must fit snugly into an exact housing. If the molded part is too large, it jams. If it is too small, it rattles. Achieving tight tolerances requires multiple machining passes. The toolmaker must repeatedly measure and refine the cavity.
Magnetic orientation introduces another layer of complexity. Anisotropic magnets possess a specific directional alignment. They deliver maximum pull force only in one direction.
Designing tools for anisotropic alignment requires specialized engineering expertise. This expertise naturally commands a premium.
A mismatch between your tooling grade and your expected volume is dangerous. Using soft metal for a high-volume run leads to premature failure. Using hard steel for a short run means you overspent. Aligning these factors ensures maximum efficiency.
Aluminum and soft steel molds fall under the "soft tooling" category. They are relatively inexpensive. Machinists can cut aluminum quickly. This reduces the hourly labor rate. Soft tools are highly suitable for short runs. They are also perfect for rapid prototyping. However, they degrade faster under heat and pressure.
Hardened steel molds fall under "hard tooling." H13 steel is a common industry standard. It features a higher upfront cost. Machining hardened steel requires specialized bits and slower feed rates. This demands more time. Yet, hard tooling is absolutely mandatory for die casting. It is also necessary for high-volume injection runs using abrasive materials.
| Tooling Material | Upfront Expense | Expected Lifespan (Cycles) | Best Use Case |
|---|---|---|---|
| Aluminum | Low | 1,000 - 5,000 | Prototyping, Low-volume runs |
| P20 Steel (Pre-hardened) | Medium | 50,000 - 100,000 | Medium-volume injection molding |
| H13 Steel (Hardened) | High | 500,000 - 1,000,000+ | Die casting, Mass production |
Buyers often wonder why manufacturers enforce strict minimums. They set a metal magnet MOQ to cover hidden operational steps.
Loading a heavy steel mold into a press takes hours. Technicians must connect intricate water cooling lines. They must calibrate the pressure settings perfectly. The machine wastes raw material during this initial dialing-in phase. If you only order fifty parts, the factory loses money on the setup time. The MOQ amortizes these setup fees across the first production batch. It justifies the machine downtime required to initiate your project.
Transparent evaluation of a tooling quote requires deep foresight. You must anticipate post-machining costs. You must also budget for potential revision fees. Focusing only on the initial cut is a common mistake.
Never skip the prototyping phase. It is essential to invest in 3D printing first. Soft machining a prototype out of plastic is also smart. You need to physically test the part before cutting steel.
DFM reviews help identify structural errors early. Engineers analyze your CAD files to find potential flow issues. They locate areas where metal or plastic might warp. Resolving these issues on a computer costs nothing. Fixing them after the steel is cut costs thousands.
Tooling revisions follow a strict rule called "steel safe." You must understand this concept clearly.
Always design your initial prototypes slightly smaller. You can easily remove steel later to increase the part size.
Maintenance is another ongoing consideration. Regular custom magnet production causes inevitable wear. Ejector pins bend over time. Cavity surfaces accumulate residue. You must identify who bears the cost of routine cleaning. Standard contracts usually place this burden on the manufacturer. However, you should explicitly verify this before signing.
Selecting a manufacturing partner is a critical decision-stage process. You cannot base your choice on price alone. You must scrutinize the tooling proposals carefully. Pay attention to legal rights and quotation details.
Intellectual property disputes can ruin a product launch. You are paying for the tool creation. Therefore, you should own it. Ensure the contract explicitly states you own the mold upon final payment.
The physical block of steel remains at the manufacturer's facility. They use it to run your parts. However, you must secure the legal right to transfer it. If their quality drops, you need the freedom to move your mold to another factory. Unscrupulous vendors might claim ownership of the design. Prevent this with clear contractual language.
Avoid vendors who provide a single lump-sum figure. You should look for fully itemized quotes. A professional quote separates the expenses clearly.
| Quote Component | What It Covers | Why It Matters |
|---|---|---|
| Engineering & DFM | CAD adjustments, flow analysis, design optimization | Prevents costly defects before cutting steel. |
| Base Tooling Material | The physical block of steel or aluminum | Dictates the maximum lifespan of the tool. |
| Machining Labor | CNC and EDM hours required to shape the cavity | Reflects the complexity of your geometry. |
| Sample Run | The first batch of prototypes from the finished mold | Verifies dimensions and pull force requirements. |
Do not rely on a single estimate. We recommend initiating a technical DFM review with two or three shortlisted vendors. Compare how they propose optimizing your design. One vendor might suggest a design tweak to eliminate EDM hours. Another might suggest a multi-cavity approach. Evaluating these different strategies helps you identify the most capable engineering partner. It leads to far more cost-effective tooling.
Cheap tooling often results in disastrous production runs. It leads to higher defect rates and costly secondary finishing. It frequently ends in premature mold failure. When the tool breaks, your supply chain halts entirely.
The ultimate objective is not securing the absolute lowest initial mold quote. Instead, you should focus on maximizing long-term lifecycle efficiency. A well-engineered tool pays for itself through rapid, defect-free production runs. It ensures consistent pull force and perfect aesthetic finishes across thousands of units.
Gather your CAD files and document your exact technical requirements. Note your necessary pull force and environmental exposure conditions. Use this data to request a comprehensive DFM and itemized tooling estimate. Taking these careful steps ensures a smooth transition from prototype to mass market success.
A: Standard B2B practice dictates the buyer owns the mold. It physically remains at the manufacturer's facility to produce your parts. You must always verify this ownership transfer in writing. Ensure your contract includes clauses allowing you to move the tool to another facility if needed.
A: It typically takes 3 to 6 weeks. The exact timeline depends on the manufacturing process you choose. Stamping, die casting, and injection molding have different setup phases. The complexity of your 3D geometry also extends the CNC machining and EDM times.
A: Minor modifications are usually feasible. Removing material from the mold cavity makes the final part larger and is relatively simple. Major changes are difficult. Adding steel back to make the part smaller requires welding or a completely new tool. Upfront prototyping is critical.
A: Yes. Using an off-the-shelf neodymium or ferrite block is very cost-effective. You place it inside a custom die-cast or stamped metal housing. This significantly reduces your upfront engineering costs compared to molding entirely custom magnetic compounds from scratch.

