
Views: 0 Author: Site Editor Publish Time: 2026-08-26 Origin: Site


Transitioning from a digital design to a physical product carries inherent financial risk. A minor discrepancy in an art proof scales exponentially during bulk manufacturing. We often see buyers approve digital layouts too quickly. This oversight leads to costly mistakes on the factory floor.
Screen-rendered mockups are not 1-to-1 representations of final physical goods. Factors like substrate texture, ink absorption, and manufacturing tolerances alter the final appearance of custom souvenir artwork. You cannot rely on a backlit computer monitor to predict physical ink behavior.
We designed this guide to provide a verifiable, risk-mitigating framework. You will learn how to navigate the souvenir artwork approval process carefully. By following these steps, buyers can authorize production runs confidently and protect their financial investments.
You must frame the approval step as a final fail-safe. It is not just a routine formality. You are committing capital to bulk souvenir production. A rushed approval process invites financial disaster. If you approve a flawed design, the factory will reproduce that flaw thousands of times.
Assumptions cost money. Buyers often skip detailed proofing because they trust the digital mockup entirely. We see this lead to text illegibility on scaled-down keychains. Warped logos frequently appear on curved ceramic mugs because no one accounted for the surface shape. You must anticipate how physical physics distort flat digital designs.
Establish a baseline for your manufacturer. A professional vendor should provide a comprehensive standard art proof. This document must include a realistic mockup. It should display exact physical dimensions. It needs specific color codes and clear material specifications. Do not accept vague proofs. Demand clear documentation before moving forward.
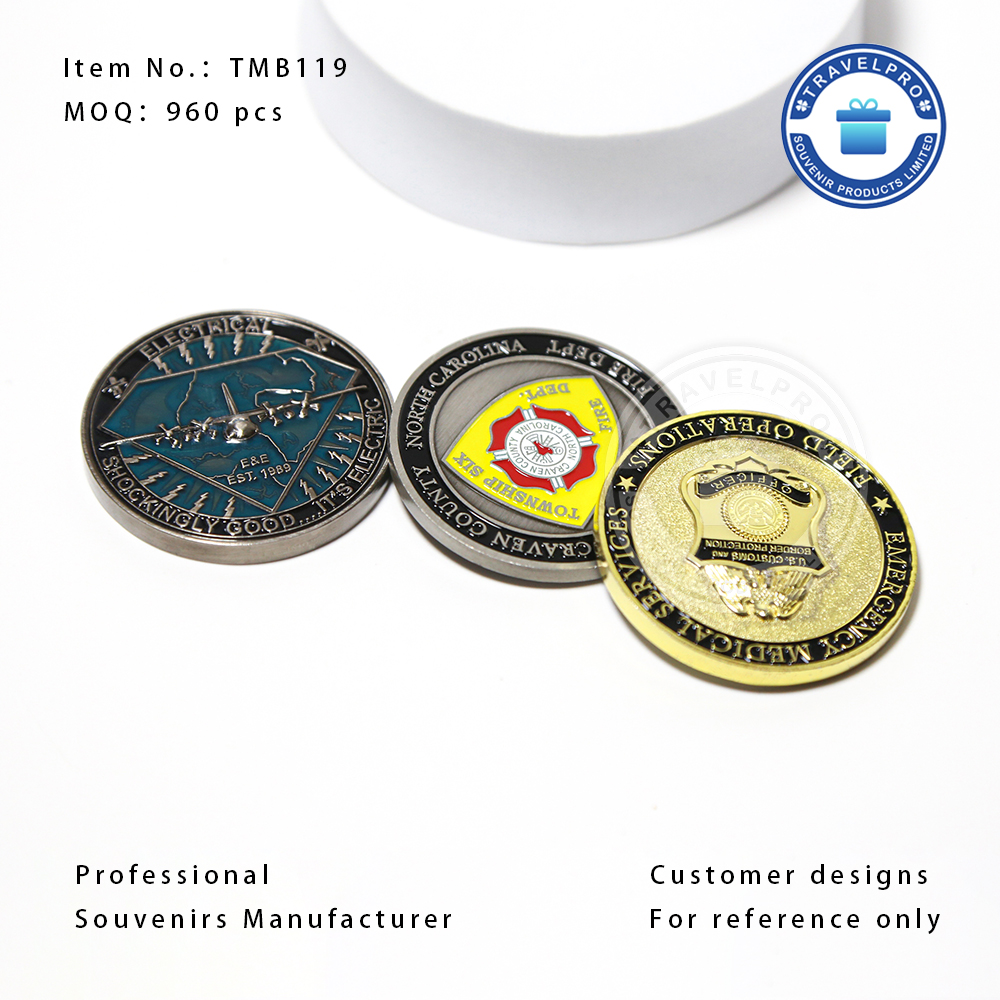
Digital monitors use RGB light to create colors. Physical inks use entirely different properties. You cannot trust your screen to show exact manufacturing colors. This limitation causes immense frustration during unboxing.
Specifying exact Pantone Matching System (PMS) codes solves this problem. It is a non-negotiable step for any custom logo souvenir. The factory mixes ink based on standard Pantone formulas. This guarantees color consistency regardless of screen variance.
Missing fonts break digital files. You must confirm all text is outlined or converted to curves. This converts editable text into fixed vector shapes. It prevents unexpected font substitution errors on the factory computer.
Evaluate your minimum legible font sizes carefully. Different manufacturing methods require different minimums. Embroidery needs thicker, larger text. Laser engraving can handle microscopic details. Pad printing falls somewhere in between. Always design for the specific production method.
Never judge a design by relative screen size. A massive logo on your monitor might only measure two centimeters in reality. Check the exact physical dimensions in millimeters or inches.
Verify placement relative to physical product features. Check where the design sits near edges and seams. Ensure artwork avoids hardware elements like keyring holes or mug handles.
Printed designs need a buffer zone. Ensure background colors extend beyond the intended cut line. This extended area is called the bleed. It prevents unprinted white edges from appearing if the cutting blade shifts slightly during automated production.
Follow these registration best practices:
You have two distinct verification methods before mass manufacturing. Digital proofs handle layout and scale. Physical samples handle materials and finish.
Digital proofs, or e-proofs, work best for exact re-orders. They suit simple flat-printed items perfectly. You should use them for low-budget or low-volume runs. However, they carry limitations. E-proofs cannot demonstrate material texture. They do not convey physical weight. They cannot show how wet ink reacts to a porous substrate.
You need a pre-production sample (PPS) for complex projects. Order one for first-time custom molds like 3D PVC magnets or custom-shaped enamel pins. High-volume orders demand physical verification. Complex material combinations also require a physical test run.
You must weigh the upfront cost against potential risks. A physical sample adds timeline delays. It requires a small initial tooling fee. However, this protects you against the financial disaster of a ruined 10,000-unit run.
| Feature | Digital Proof (E-Proof) | Pre-Production Sample (PPS) |
|---|---|---|
| Cost | Free or included in setup | Requires sample fee and shipping |
| Timeline Delay | 1 to 2 days | 1 to 3 weeks |
| Best Used For | Re-orders, simple flat prints | Custom molds, high-volume runs |
| Main Limitation | Cannot show texture or true color | Extends overall project schedule |
Materials behave unpredictably. The exact same artwork file looks entirely different depending on the surface. Red ink on bleached cotton appears vibrant. That same red ink on raw wood looks muted and dark. Brushed aluminum adds a metallic sheen to transparent inks. Frosted glass diffuses solid colors entirely.
You must accept standard manufacturing tolerances. Automated printing machines vibrate and shift. Expect a standard deviation of 1 to 3 millimeters during production. Design your artwork to accommodate these shifts. Avoid ultra-thin borders near the edges. They look uneven if the print alignment shifts slightly.
Enamel and metal plating present unique realities. Hard enamel items require polished, flat surfaces. Soft enamel leaves recessed ink areas and raised metal borders. You must understand these color separation lines. Adjacent colors need a physical metal line between them. Furthermore, metal finishes alter perceived ink colors. Antique gold plating casts a warm shadow. Nickel plating creates cooler tones.
Consolidate your feedback completely. Piecemeal revision requests cause massive version-control errors at the factory level. If you send three separate emails outlining different changes, the designer might miss one. Review the proof with your team first. Send one comprehensive list of requested edits.
Move away from casual approvals. Saying "Looks good" in an email creates ambiguity. You need formal, documented sign-offs. Use explicit language. State clearly: "Approved as provided in Proof v3 for a run of 5,000 units." This protects both you and the manufacturer.
Review the fine print in vendor liability clauses. Understand the legal weight of your approval. Once signed, the responsibility shifts entirely to the buyer. If you approve a proof containing a typo, you pay for the ruined batch. If you approve a proof lacking Pantone codes, you accept the resulting color mismatches.
Common mistakes to avoid during sign-off:
Effective artwork approval bridges the gap between digital expectations and manufacturing realities. It requires strict attention to technical details, precise color matching, and substrate awareness. A systematic review process prevents minor digital errors from becoming expensive physical disasters.
Requesting a physical sample remains the single most effective way to validate a high-volume investment. Taking the time to verify materials physically saves money in the long run.
Next Step: Audit your current vendor's proofing documentation immediately. Request a clear sample policy before you initiate your next bulk order to ensure commercial safety.
A: It typically adds 1 to 3 weeks to the total timeline. The exact duration depends on tooling requirements, mold creation, and international shipping logistics. Complex items require more time.
A: Vector files like .AI, .EPS, or .PDF remain the industry standard. Raster images like .JPG and .PNG are generally unacceptable for professional mass production. Use rasters only for direct-to-garment or specific photographic printing.
A: If Pantone colors were not specified and agreed upon in the approved proof, the buyer assumes the risk. Standard industry practice dictates that screen-to-print variance is expected unless exact PMS codes are documented.
A: Once bulk production begins, plates are made and materials are cut. Revisions are rarely possible at this stage without incurring substantial restart fees. You must finalize everything before sign-off.

